Saturday, July 25, 2020

Nurgle Champion

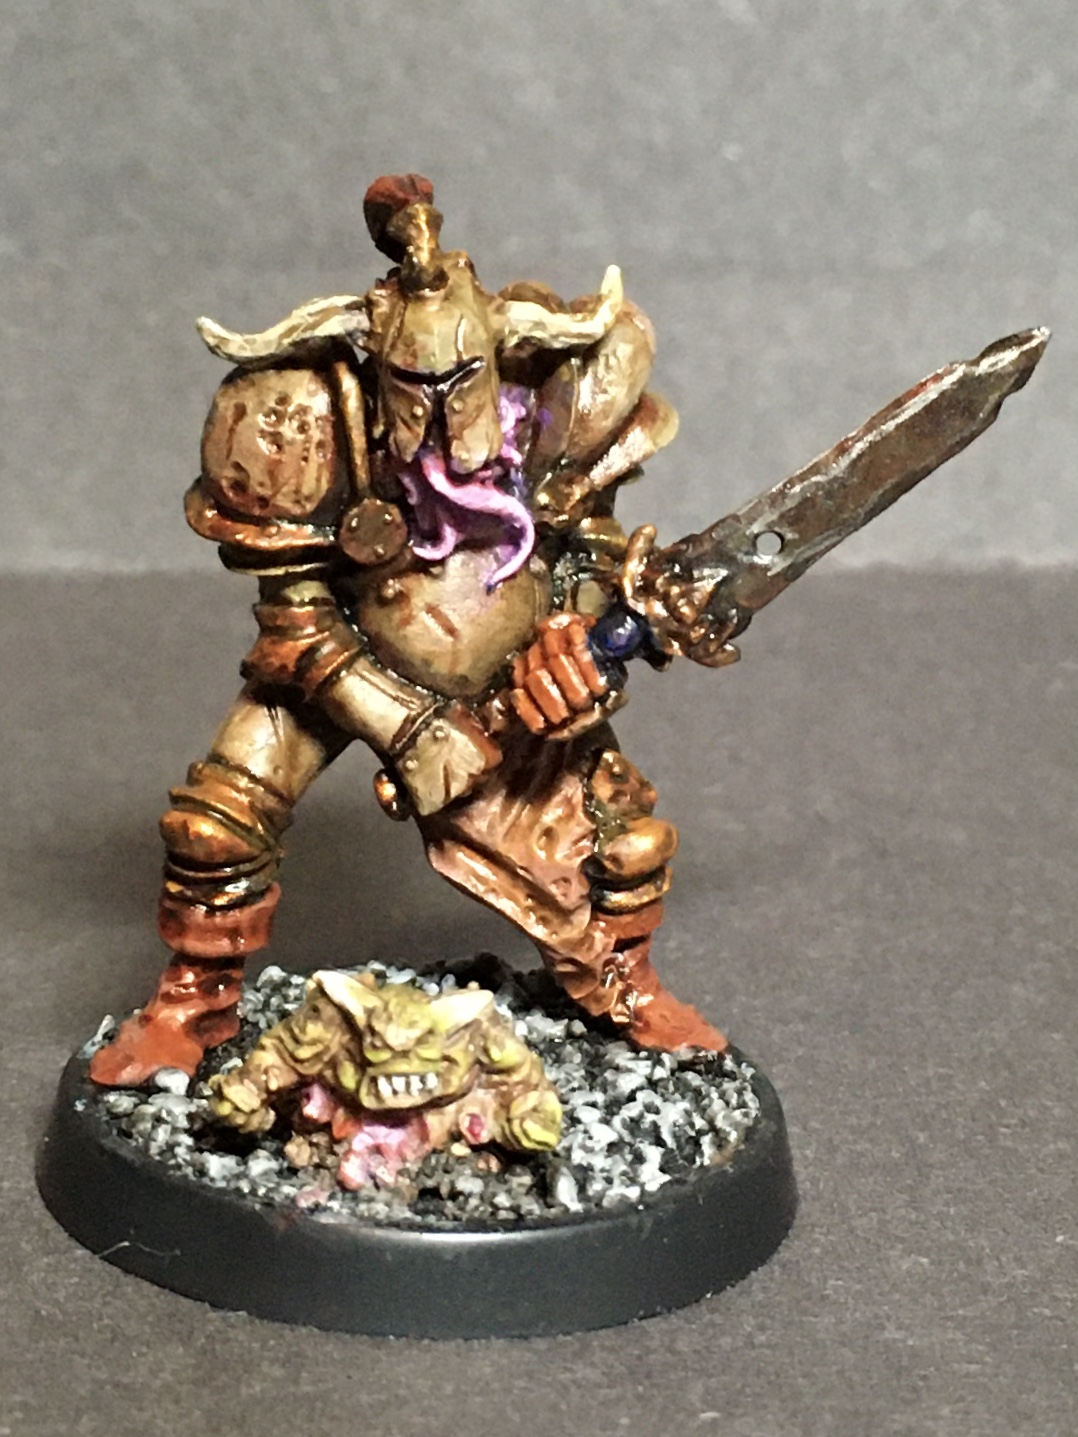
Painted this guy up a way back in May of 2019. I don’t remember what I used for the base coat. It was probably P3 Traitor Green, that’s my go to color for Nurgle. He’s from  https://knightmareminiatures.com/  excellent Pantheon of Chaos range. I repainted the tentacles, horns and nurgling last night as I wasn’t happy with them the first time around.

He’s a bit bigger than the old RoC Citadel champions from the late ‘80s and has a wider stance. I pinned him to a 32mm base but that left a bunch of unused real-estate. I stuck a nurgling on to fill the gap. Now the champion has a little buddy to hangout with! I used a lot of brown ink on the armor, I used a fine tipped brush to streak it down and let it pool in some places. I wanted to make it look like he was oozing...something.

Check out them chain mail buns! 
After a couple coats of varnish, he’ll get a name and a back story. Then he’ll be ready to hit the table top and reek some havoc for Papa Nurg. 

Sunday, July 19, 2020

Painting Challenge: Beastman of Khorne

So my best friend calls be his “bestie”, my girlfriend thinks it’s soooo cute. We’ve been hanging around each other for, I don’t know, something like 25 years. When we met, I found out that he used to play Warhammer. I can say that I’m proud of the fact that I rekindled his interest in the hobby. That was way back in probably something like 1995. We both got disgusted and burned out with GW after 5ed WH and 3ed 40k. We played a little bit of both those editions but we saw the writing on the walls and popped smoke. GW’s corporate greed got too much for us and by the turn of the century, the Silver Age was coming to a close. Fast forward to about 4 years ago and we started talking about dusting off the old rulebooks and unboxing the old miniatures to play some of the old games. We had no idea that there was even anything called Oldhammer. Finding out there was a whole community/movement dedicated to the old games was like culture shock.
He has tons of painted miniatures from back in the day. I don’t. I have a giant lead pile that seems to keep growing! The only painted army from then is my 40k Dark Angels. I’ve always hated painting armies. The Silver Age was chock full of mono pose boredom. And it got worse...plastic is lame.
But, I digress, me any my buddy have always competed. May the best man win and shit, but we’ve always helped each other out. I turned him on to the wet pallet, he turned me on to airbrushing. There’s always that ebb and flow, the back and forth, mixing and merging that comes from a good relationship.
That brings us, I guess to the contest: when I first saw this miniature I thought of my friend. He’s got a thing for Khorne so I ebayed this beastman for him. I liked it so much, I got one for myself. Instantly the competitive spirit kicked into overdrive: who could paint the same miniature better?
So here’s pictures


 Which one do you like better? And why?

Sunday, June 28, 2020

GaslandsCarsAromallama


Alrighty now, those of you that are tuned in to my blog-orama here know that I’ve been all about Gaslands for a little while. And if y’all know me, you know I have attention disorder. I have what’s called Hyper Focus. That means when something peaks my interest, I can’t concentrate on anything else. So I’ve been working on some cars. For Gaslands. Check‘Em out. I hope you like them. This team is 51 cans. Oh shit, I’m over by 1 can...if you’re reading this blog then you’re probably an Oldhammer player and don’t give a damn about being over or under.
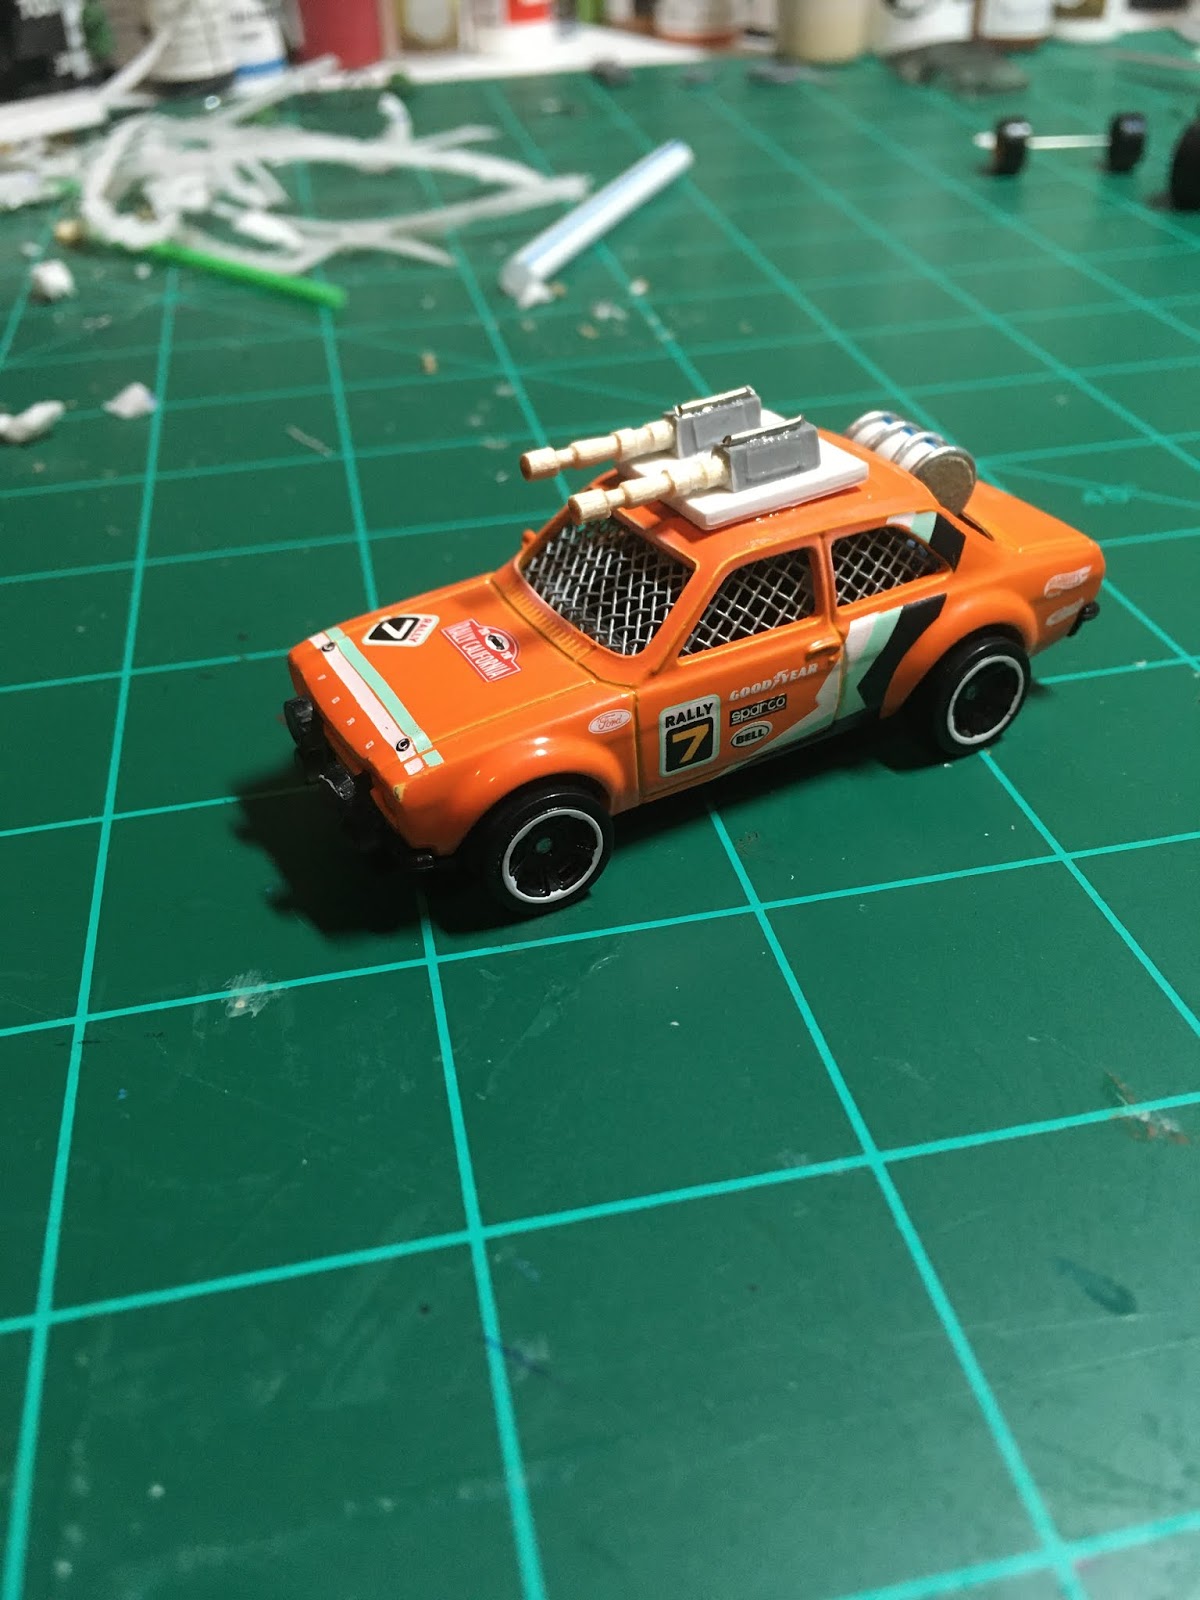
Here’s a buggy: with a Machine Gun and Extra Armour = 12 cans
 Plus a car: twin Mini Guns = 22 cans
Then add a truck with a Wrecking Ball = 17 cans


Me and my GF cussed and discussed the name for this crew and we came up with: The Purple Nurples.

Sunday, May 24, 2020

Gaslands Gates

I made a couple cars and some scatter terrain to get started. (See previous posts) I figured I should get prepared for the Death Race scenario that eventually will get played so I needed some Gates. Sure, they can be bought or 3D printed but to be honest, that’s not nearly as fun as make them from scratch.
So let’s get to it!
Gates need to be 182mm wide per the rule book. So the best thing to do is to make a 182mm template. This ensures that all of your Gates are the correct width.
I made my bases for the gates quite a lot bigger than this to leave room for the structure. I made the bases 2 1/4 x 10 1/4. Looking back on it, I probably should have made them 2 1/2” or 3”. Hind sight is 20/20. The construction materials are cheap and they are basically made for next to nothing if you don’t count labor. I sourced most of what was used from the cheapest that I could get away with. The sand was given to me by my father in law, the foam is the cheapo foam core from the Dollar Tree, the card stock is from “drink” boxes and the corrugated cardboard is from whatever boxes I had laying around. I did go nutso and glue some car bodies onto some gates (they were three for $1).

 
I put a line on each end of my 182mm template so I would know were to build the structure.

I cut two pieces 1x6” and one piece 1x9.5” corrugated cardboard for the skeleton. The two short pieces are the sides, the long piece is the top. Also made some gussets to hold it all stable and up right. Here’s a view from the back.
I made some rectangle pieces of card stock and punched holes in them. These were used to cover the front and some 2mm strips to go along the edges to hide the corrugation. I made a sign and traffic lights for the front also.
Hot glue some smashed up cars to the front and almost done!
‘Til next time, stay safe peeps.

Monday, April 20, 2020

Gaslands terrain

So after getting bit by the Gaslands bug and searching the interwebs far and wide, I haven’t found much about making terrain. Everyone’s about making cars. That’s cool cause you need cars to play. But you also need a racetrack/battle arena. As there is a lack of building Gaslands terrain information on the webs, I figured I’d show ya’ll how I’m doing it.
I have to start out with that I love making terrain. I’m not that good at it, but I still enjoy it. Even as much as painting miniatures and playing the games. Building terrain lets my imagination run wild and I can make whatever I want (usually with whatever supplies I have on hand).
For me at least, having decent painted miniatures and decent painted terrain is part on the game. So without further ado-here is Gaslands terrain:
I used all of the skills and techniques that I learned many years ago building 40k terrain.
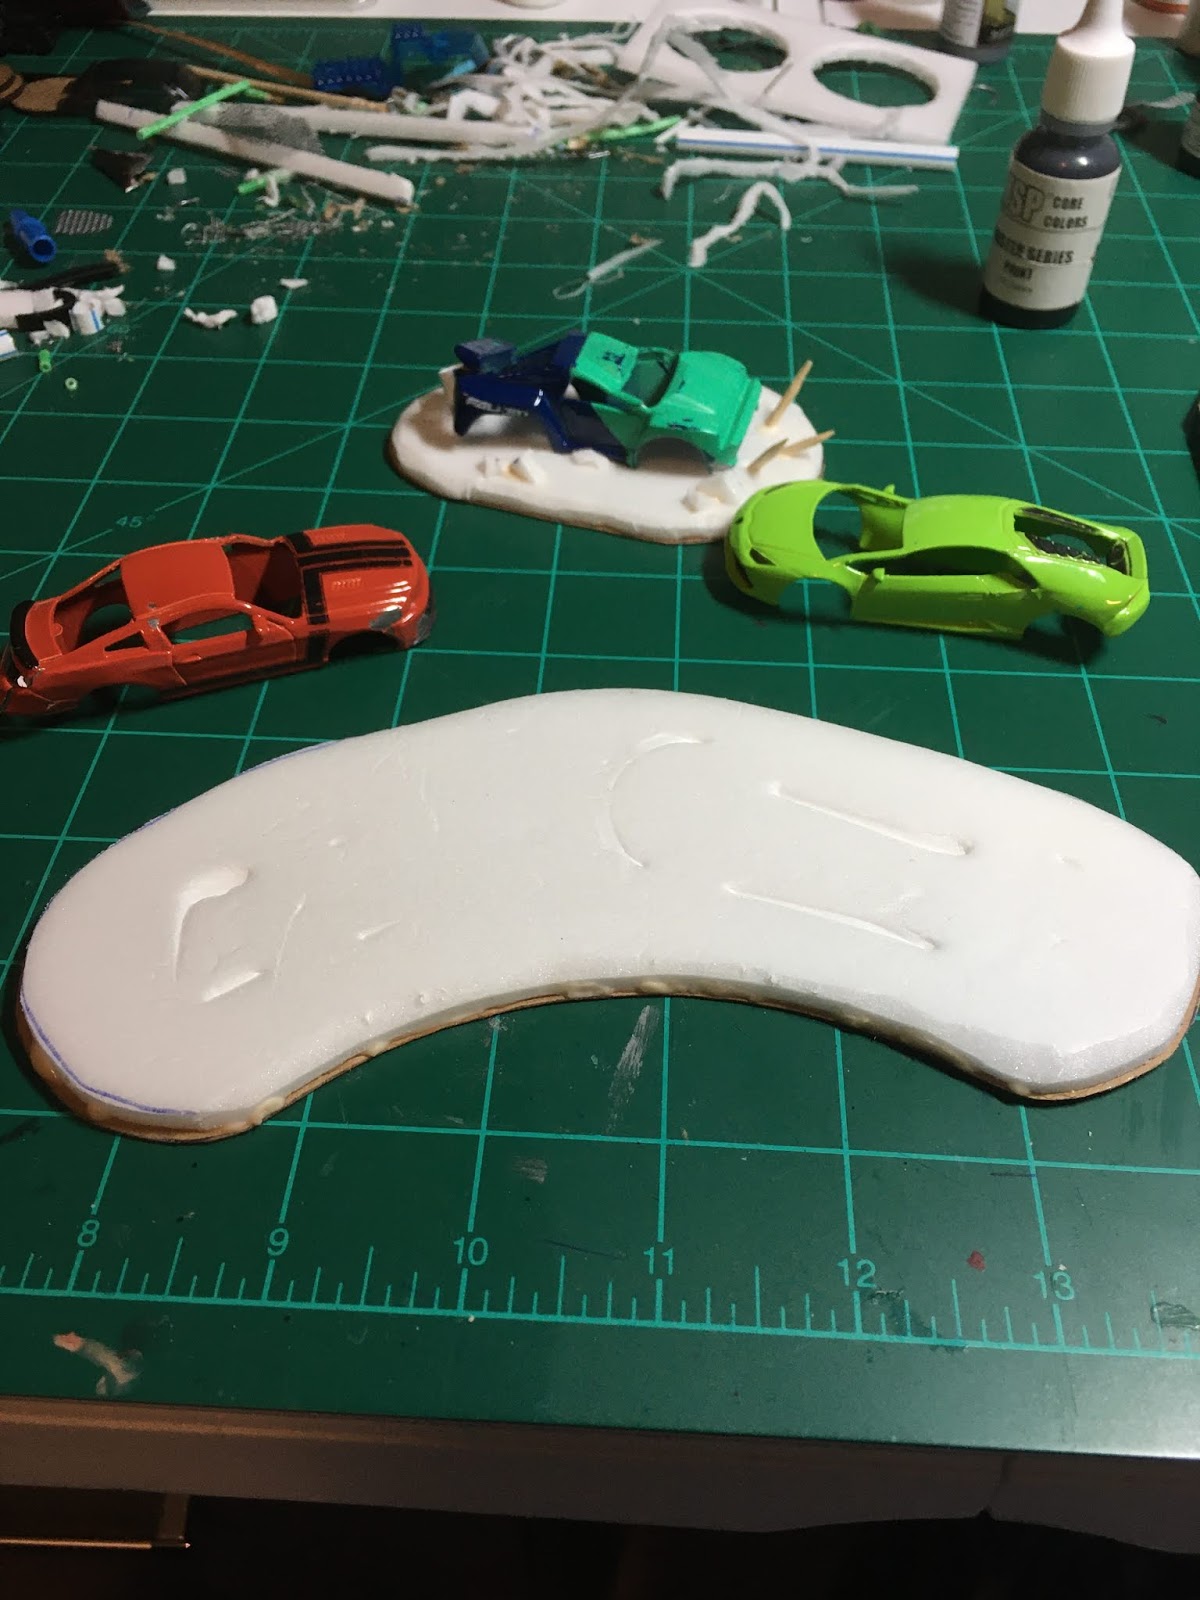
I used the cheapo foam board from Dollar Tree. It’s the best because it’s crap. The paper backing is very thin and peels off easy, which is what I want. I peel off both sides of that thin, crappy tissue paper revealing a nice thin piece of foam. I cut it into the shape I want with a Exacto blade with ease. Then I trace around that shape onto some thin card stock. The box that your beverages came in is perfect for this (you didn’t throw that away did you?)
I then glue the foam to the matching card stock. I like Gorilla Wood Glue. It has a very strong bond and I always like to protect my terrain against armor piercing dice. I put these base assemblies under a weight for a couple of hours to keep them from warping. 
After they’d cured enough, I went on with business. I took the cheapo dollar store cars (four for $1), that I’d smashed with a hammer, and pushed them into the soft foam of the base.


The impressions told me were I needed to put the glue to get them secured to the base. Where the two cars touched, I used super glue.


I beveled the edges of the base. I then used some foam drop offs, bits of straws (for pipes), and carved toothpick spikes for some details.
Glue on some sand and wait for it to dry 

Next time we’ll look at details and paint. 
Till then be safe and stay healthy!
Saturday, April 11, 2020

Entering the Gaslands

So over the last month l’ve been painting seven beastmen to go with the Khornate champion I painted a couple of years ago. I digress, this post isn’t about them. They’ll get their own for reasons...
This is my inaugural Gaslands post! My local dollar store had Hot Wheels on sale for 2 for $1. And I just couldn’t look that cheap miniature gift horse in the mouth. So I bought 30+ cars for less than you could even look at something made by GW. I then ordered the rule book and a couple of sprues of parts from http://www.northstarfigures.com/. Much to my surprise, the rule book was hardback and of very good quality. And even with this covid-19 crap going on the shipping time from the UK to the good’ol USA was not too bad. I’m impressed, those guys have great customer service!
Reading through the rule book it definitely has an old hammerish diy feel to it. And it gives me an opportunity to make a bunch of new stuff in a new scale. I figured I’d do some tutorials on how I’m making things for this new project. I suck at battle reports so we’ll see on that.
Anyway, here’s how to make some car mounted guns on the cheap:
I start out with a Diamond brand extra long toothpick 
And cut it down to length. The none pointy end has some nice details to it. Then I cut off a small bit of sprue and square it up with a file. We’ve all got some of this hanging around, don’t we? (You paid for it when you bought those plastic miniatures. Never throw away your money.) I then drill a 1/16” pilot hole in the middle of the sprue bit.

Be fairly precise with this because you won’t have much room in the next step. I used a 3/32” drill bit to make a counter sink for the toothpick barrel to sit in.
Now glue the toothpick barrel into the sprue bit. Refer to the first picture. For added details a bit of paper clip across the top of the sprue receiver and some plastic bits for the side plates of the receiver and the front sight.
They were made from a 1/16” strip cut from the blister that the hot wheel came in. (You didn’t throw that away, did you?) Triangles for the front sights and rectangles for the side plates.

Maybe when the car is closer to being done I’ll route a zip tie belt feed. I also want to do a tutorial on the auxiliary fuel tank. 
Until next time, stay healthy and stay safe. 

Saturday, February 29, 2020

Banners (part 1)

This is going to be the first in a series about making banners. The old school way. Back in the ‘90s GW sold banner stickers in blister packs. While it was a fast and easy way to make banners, it was very boring. I mean, who wants their flags to look like the other guy’s? Back then color printers were hard to come by and 3D printing was science fiction. Plus, you want your stuff to have soul and art and stuff, don’t you? 
If you’re seeing this before you’ve checked out Orlygg’s awesome series of posts on banners, you should definitely check it out: http://realmofchaos80s.blogspot.com/2013/05/arcane-armorials-constructing-oldhammer.html?m=1
Basically, the only real difference between me and Orlygg is the raw materials used. I like to use aluminum cans because it was and is very common and accessible then and today. “Tall boys” are perfect because they give you lots of material to work with. I start by cutting the top and bottom off with some shop scissors.
After the the top and bottom is cut off, cut the cylinder long ways.
Don’t worry about being precise here, that comes later. And here it comes.
Take a straight edge and a sharp blade and cut the can into smaller rectangles. I went with 2” x 4” for army standards and 1” x 2” for unit standards.
The size and shape is really up to you. We’ll be getting into that in the next episode on banners so stay turned and let’s see where this takes us.

Gaslands terrain

 I like to pop into my local dollar store every now and then to see if there is anything new that I can use gaming projects. Some crap found...